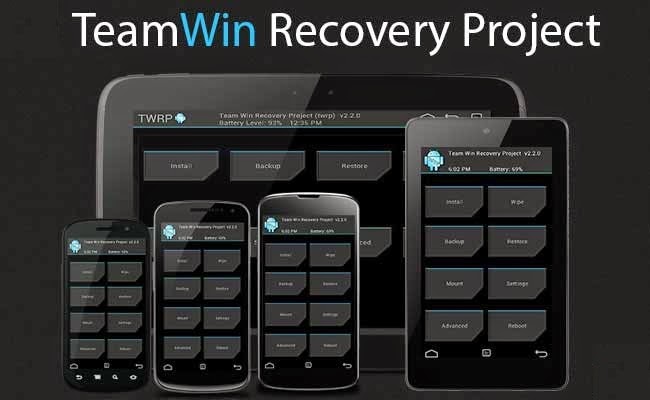
If you agree with me then you do understand the need of a custom recovery for a device.
Micromax Canvas Magnus was recently released to market and today we have the TWRP custom recovery for that.
With this first custom recovery you will also see some custom ROMs like Cyanogenmod 12, Paranoid Android and more for Micromax Canvas Magnus in near future.
WARNING:
Installing custom recovery on your device may VOID your warranty and may delete all your data.
Before proceeding further you may consider backup your all data.
Understand the fact that you are the only person responsible for everything that you do with you device.
If you blame me for a disaster that happened to your device then I will simply laugh at you.
Before going into details make sure that you have the following things in hand to start with the recovery installation guide.
Installing custom recovery on your device may VOID your warranty and may delete all your data.
Before proceeding further you may consider backup your all data.
Understand the fact that you are the only person responsible for everything that you do with you device.
If you blame me for a disaster that happened to your device then I will simply laugh at you.
Required things:
- TWPR custom recovery for Micromax Canvas Magnus A117
- Fastboot and adb binaries (Optional)

[Installing TWRP Custom recovery and Rooting guide for Micromax Canvas Magnus]
STEP by STEP recovery installation guide for Micromax Canvas Magnus:
STEP 1:
---------
Download the latest recovery file in img format from the above link and copy it in the sdcard.
---------
Access to your phone's console by using adb or terminal emulator app and type the below commands:
$ su
# dd if=/sdcard/recoveryfilename.img of=/dev/block/recoveryThat's all. TWRP Custom recovery is installed.
And just make sure that you enter the command right with each and every alphabet correctly typed.
Alternate Guide.
STEP 1:
---------
Install TWRP Manager from the Play Store.
---------
STEP 2:
---------
Open TWRP Manager and provide root permissions.
---------
STEP 3:
---------
Click on Advanced -> Install Recovery
---------
STEP 4:
---------
Verify the correct device name on your screen.
---------
If the correct device is showing then press Install Recovery.
After successfully completing all the above mentioned steps your device will be rooted.
Have fun and stay tuned to get more updates.